Pearl Map Guide Valorant: Callouts, Strategy and Best Agents
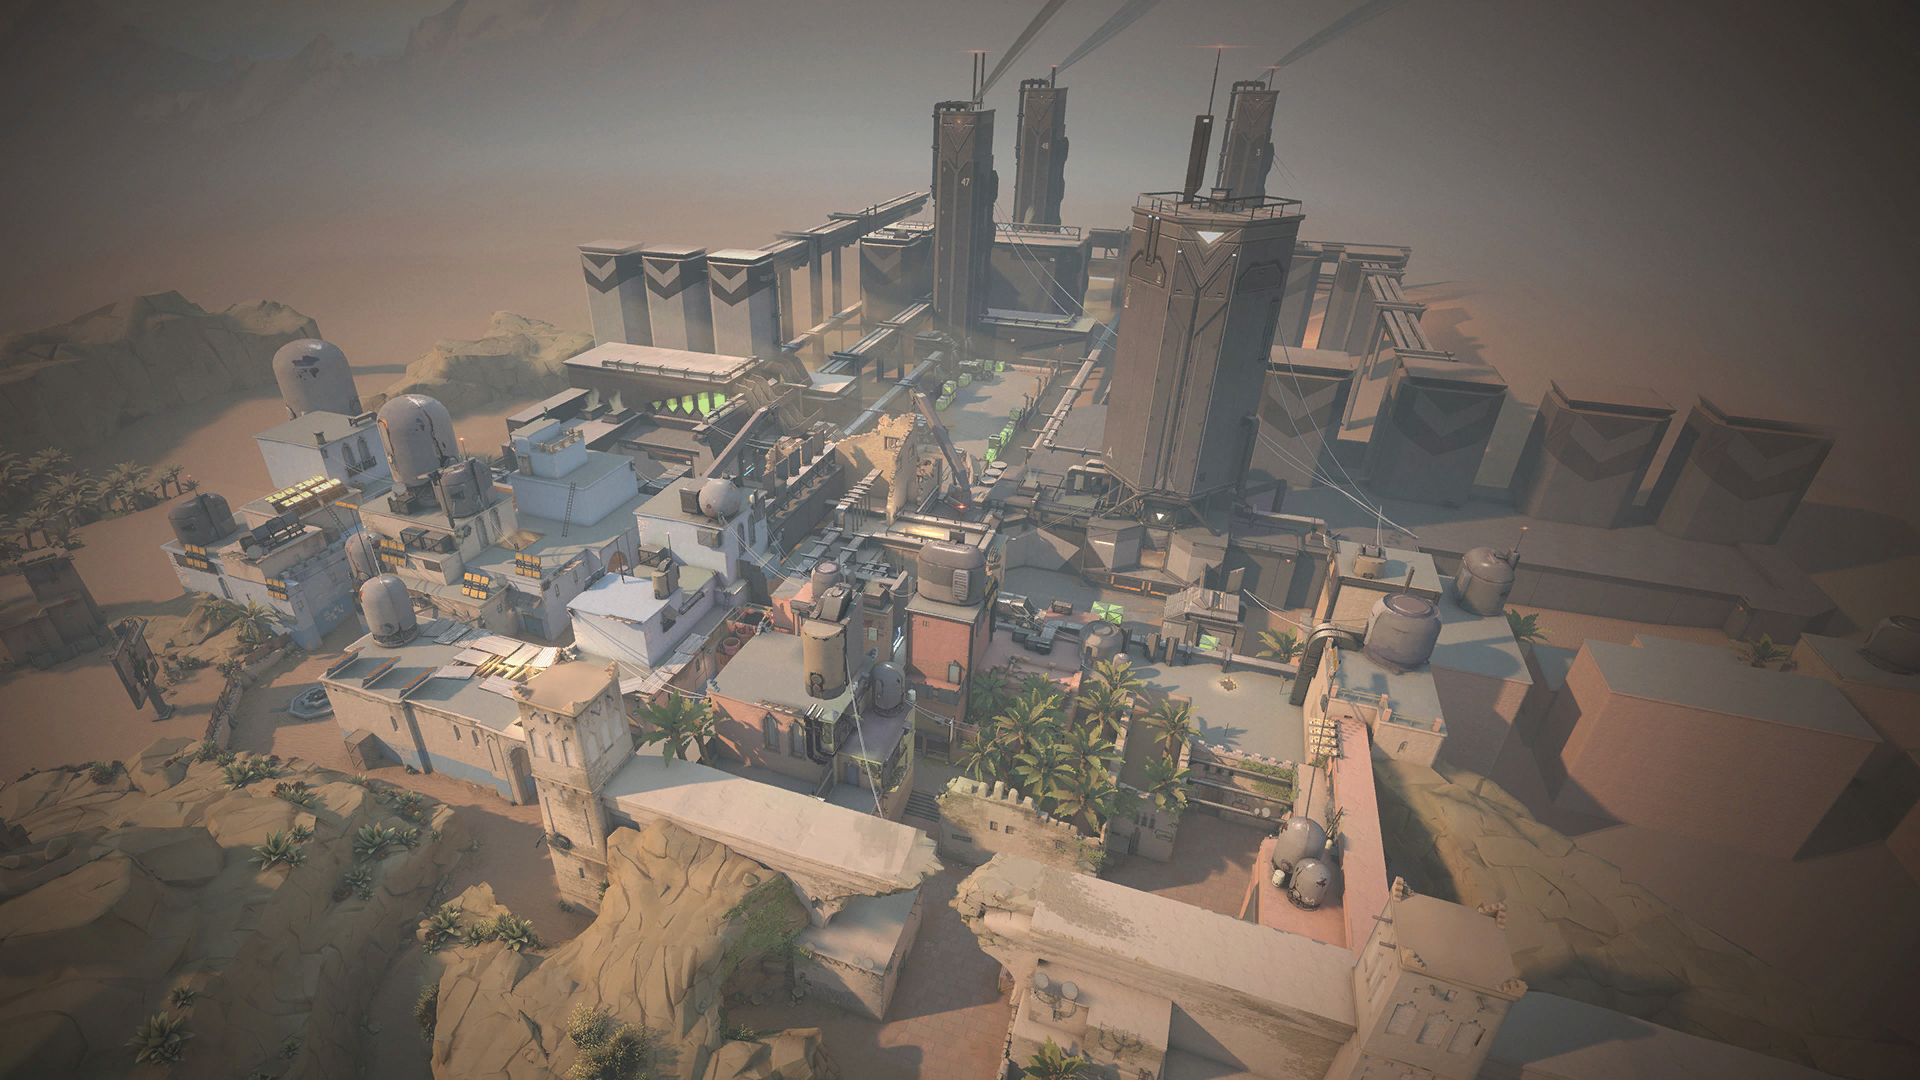
Pearl is an underwater Portugal-themed map with a clean, symmetrical layout and no gimmicks to hide behind. There are no teleporters, ropes or rotating doors to bail out poor decisions, which is exactly why strong macro teams love it.
What Pearl does offer is meaningful mid control. Mid Connector links toward both sites, so the team that understands when to pressure Art, Top Mid and B Link usually dictates the pace of the match. On Pearl, good fundamentals are not optional; they are the whole map.
## Map layout at a glance
| Sites | Key Areas | Attacker advantages | Defender advantages |
|---|---|---|---|
| A | A Main, Art, Secret, Flowers, A Site, Dugout | Can split from A Main and Art, isolate Flowers players and plant with strong post-plant space | Tight chokes and layered site positions let anchors stall until Mid Connector support arrives |
| B | B Main, B Site, Hall, B Link, Back Site, Tower | Long B Main pressure and mid splits can overwhelm anchors and create safe plants | Long sightlines favour disciplined anchors, while B Link rotates quickly if mid is secure |
## Attacker strategies
Pearl attack becomes dramatically easier once your team stops seeing it as two isolated site hits and starts seeing it as a map of linked lanes. A Main is important, B Main is important, but Top Mid and Connector are what let those lanes breathe. If defenders control mid comfortably, they can reinforce either site in time and punish every slow execute.
That is why balanced compositions work well on Pearl. Viper and Omen are both strong because they can pressure mid sightlines and site chokes without forcing the entire team into one predictable route. Attackers who combine map pressure with disciplined trading usually make Pearl look much simpler than it really is.
### Taking A Site
A hits are strongest when Art is at least threatened. If defenders know every attacker is coming from A Main, Flowers and Dugout become much easier to hold and the rotate from Mid Connector arrives on time. But when Art pressure exists, the Flowers player has to divide attention and the site loses one of its best stabilising positions. Smokes should usually isolate deep defender sightlines while your utility clears the close pockets that make A so sticky.
A also rewards patience. You do not need to sprint through A Main the moment you see one defender utility piece. Sometimes the best round is to claim Art, force a rotation and then either split A or pivot B while the defenders are still reorganising. The site becomes much easier when the defenders feel late rather than set.
Taking B Site
B is more open than A, but that does not make it simple. The long lane of B Main gives attackers room to stage, yet defenders on site and in Hall can punish sloppy spacing. The best B attacks either isolate Hall with utility or pressure mid hard enough that B Link cannot support in time. Once that support is delayed, the anchor often has to give ground.
Post-plant structure matters a lot on B. Because the site is more spacious, attackers who spread between Main, site and anti-retake positions are far stronger than teams that all tuck behind the same box. If your execute wins the plant but loses Hall and Link control immediately after, you have not really secured B at all.
### Attacking the full round well
Pearl rewards thoughtful defaults. Start by contesting Top Mid and one extremity, identify where the defenders are over-investing and then choose whether the round wants an A split, a B hit or a late pivot. Because the map is balanced, most agents are viable, but every composition still needs a way to claim information in mid. If you are constantly walking blind into Connector, defenders will farm free value. Use early rounds to learn their tendencies, then punish the players who rotate too early or who always fight the same lane.
## Defender strategies
Pearl defence is less about gimmick setups and more about sound lane management. Defenders need enough presence in A Main, B Main and Mid to avoid giving attackers a free read, but they also need to know which space is actually worth dying for. Usually the answer is mid first, then the site entrance most likely to be split.
Because the map is balanced, defenders cannot rely on one oversized advantage. They win by making the attackers clear every layer, rotating quickly through Connector and refusing to give up the site for free once mid is lost.
### Holding A Site
A defenders should build around Flowers, Dugout and the ability to delay the final plant. Flowers control is particularly important because it stops attackers from scaling comfortably out of A Main and it becomes even stronger when mid support from Art is still available. If attackers are pressuring Art heavily, however, the A players must be ready to fall into a more compact setup instead of getting pinched.
A good A defence does not always need opening kills. Often it just needs to keep the site messy long enough for Connector or Art help to arrive. If that help is late, save your life and retake with a clear plan rather than dying isolated behind a box with no trade.
Holding B Site
B is where disciplined anchoring shines. One defender holding B Main with support from site or Hall can make the lane feel terrible for attackers, but only if the spacing is correct. Overextending into Main without an exit route usually hands attackers the site. Instead, contest for information, then fall to stronger positions and make them spend the second wave of utility to finish the job.
B Link is the key rotation lane. If defenders keep mid stable, Link turns B into a two-layered hold that is difficult to overwhelm. If mid collapses, B becomes much more fragile, so communicate early when Connector or Top Mid are under real pressure rather than waiting until the split is already on top of you.
### Rotations and retakes
Rotations on Pearl are won by anticipation. Because mid links both sites so well, defenders who identify the attack pattern early can arrive with real utility left. Defenders who react one beat late often show up just in time to die one by one. On retakes, reclaim Art or B Link before walking straight into site if possible. Those connector lanes cut off post-plant options and give your team better timing for the actual site crunch.
## Mid control and rotations
Mid control is the heart of Pearl. Top Mid and Mid Connector decide whether attacks feel fluid or predictable, and whether defences can reinforce the right site in time. Attackers should pressure mid not only to split but to freeze defender rotations and pull utility away from the site they really want. Defenders should never give mid away without at least learning how many players are there and what utility was spent to take it. Omen and Viper are popular here because their smokes let teams fight for these crucial lines of sight without overexposing bodies. If one team owns Connector repeatedly, the whole map tilts in their favour.
## Best agents for Pearl
- Omen: He is flexible enough to support mid control, site hits and reactive defence, which is ideal on a map built around connector timings.
- Viper: Her wall shapes mid and site space beautifully, especially when the team wants to split or deny long sightlines.
- Sova: Recon and drone make Pearl's longer lanes easier to clear and help attackers avoid walking blind into stacked utility.
- Killjoy: She anchors well on both sites and gives defenders the confidence to play more actively around mid.
- Jett: Her mobility is strong for punishing long angles, creating first-blood pressure and escaping after contact on Pearl's wider lanes.
## Key callouts
- A Main: The main attacking path into A and a common source of early pressure.
- Art: The connector lane toward A that makes splits and defensive rotations much stronger.
- Top Mid: The contested mid lane that sets the pace of most well-played Pearl rounds.
- Mid Connector: The bridge point between mid and both sites; whoever owns it gains major rotation leverage.
- B Main: The long approach to B where attackers often stage defaults and defenders look for early info.
- B Link: The defender connector that supports B site and punishes attackers who ignore mid.
- Hall: The deep B-side space that influences post-plants and anchor positioning.
- Flowers: A-side cover position that becomes critical when A Main pressure develops.
## Common mistakes on Pearl
1. Treating Pearl like a pure site-hit map: Without mid pressure, defenders rotate too comfortably and every execute arrives into a full setup.
- Pushing Connector alone: Mid is valuable, but it is still a contested lane. Solo peeks into Connector often donate the space back instantly.
- Giving up post-plant lanes: Pearl sites feel won until attackers or defenders forget about Art, Hall or Link and get pinched from the side.
- Over-rotating on first contact: Because both sites can be split through mid, defenders need confirmation before abandoning the opposite half of the map.
- Ignoring the balanced nature of the map: Pearl does not hand huge advantages to one side. Teams that rely on gimmicks instead of fundamentals usually get exposed.
## Related guides
Want to climb faster? UpForge analyses your Valorant gameplay with AI and gives you personalised coaching. Try UpForge free at upforge.gg — no credit card required.
Put This Into Practice
Get coaching tailored to your gameplay
Auto-record every match, extract highlight clips, and get full AI coaching on desktop — not just a clip preview.
Share this article